Monday, February 27, 2012

vanilla wafer cake


I grew up on this cake.
It's super dense and rich and great for snacking with milk.
Roadtrips?  Perfect.
Camping? Energizing.
Disney World? Filling.

Ahem.
Yes, I did say Disney World.
Back in the day, for our first trip to Disney World, my dad was horrified by the prices that Disney charged for "snacks", much less lunch.
We didn't have a ton of money growing up so our parents decided that we'd snack all day when were inside the park.
This was one of the snacks.
It's a delicious cake but my brother and I couldn't eat it for years after that trip.
That and raisins and those little nasty cheese and crackers snack packs.
Yuck.
Still won't touch those.
But, I have reunited with this cake.
It's delicious, super moist for days, and easy peasy.
Just don't eat for five days straight.
It might be years before you touch it again.
:)


Vanilla Wafer Cake
Makes 2 loaves.
from my Maw Maw!
2 sticks margarine
2 cups sugar
6 whole eggs
1/2 cup milk
7 ounces sweetened, shredded coconut
2 cups pecans, chopped
12 ounces vanilla wafers (a box)

Preheat your oven to 325*.  
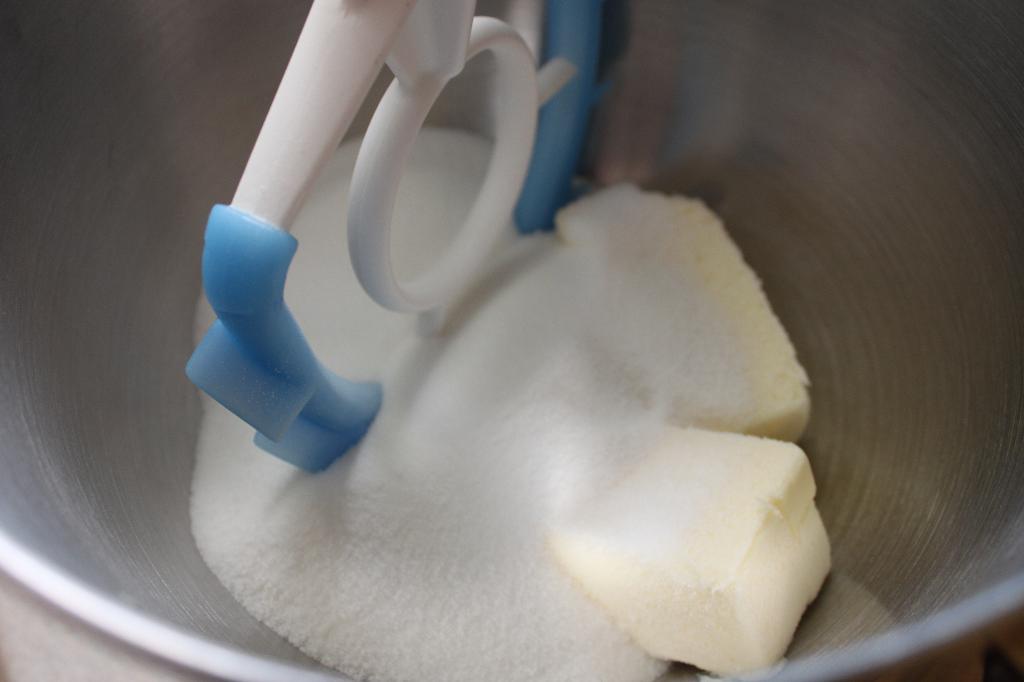
Cream margarine and sugar.  


Add eggs, one at a time and beat after each.  


Crush the vanilla wafers (either grind in the blender/food processor or roll out on newspaper with a rolling pin).


Add crumbs, alternately with the milk.  


Add the coconut and chopped pecans and beat just to combine.  


Bake in greased and floured pan for an hour and a half, or until set.  


Cool and enjoy!


Friday, February 24, 2012

gd likes

end-of-winter buttered rum


a stainless steel rolling pin....to add to my collection!


French-inspired tablecloths


good quality honey


soooo...what do you like?

Tuesday, February 21, 2012

chicken cordon bleu


Chicken Cordon Bleu is definitely not my favorite chicken dish.
Mostly because I don't like ham.
But, I have a friend that requested this for a dinner we were having so I tried to oblige.
I googled and picked through and adjusted.
And finally landed on this.


Fantastic.
Seriously.
I wouldn't change one single thing.


The cheese does leak a bit but the chicken is moist and the crust crisp and the cheese gooey and the ham salty.
Can't ask for anything else.


Chicken Cordon Bleu
Serves 4
*tip! the breaded chicken can be refrigerated covered for up to a day
Found somewhere online!
25 Ritz crackers
4 slices hearty sandwich bread, white or wheat (I used homemade)
6 tablespoons butter, melted
8-16 thin slices deli ham (about 8 ounces)
8 thick-ish slices of Swiss cheese
4 thick boneless, skinless chicken breasts (about 2 pounds total)
Salt and pepper
3 large eggs
2 tablespoons Dijon mustard
1 cup all-purpose flour

Preheat the oven to 450*. Pulse the crackers and bread in a food processor until they are coarsely ground. Drizzle in the melted butter and pulse to incorporate together. Transfer the crumbs to a rimmed baking sheet and bake in the preheated oven for 3 to 5 minutes, stirring occasionally, until the crumbs are lightly browned. Transfer the crumbs to a shallow baking dish. Leave the oven on.


Top each ham slice with one slice of cheese. If your ham slices are too smile, shingle two ham slices on top of each other to create a larger slice and roll the cheese up in that. Roll tightly and set aside. 


Pat the chicken dry with paper towels. Cut a pocket in the thickest part of the chicken breast and stuff each pocket with 2 ham and cheese rolls. Pull the top flap of chicken over the rolls and press to seal (you can use a toothpick to gently secure the pocket edge, if you like). Season both sides of the chicken with salt and pepper. Refrigerate the stuffed chicken, covered, for at least 20 minutes.


In another shallow dish or pie plate, beat the eggs and mustard. Place the flour in a third shallow dish. Remove the chicken from the refrigerator. Working with one stuffed chicken breast at a time, coat the chicken lightly with flour and then dip in the egg mixture, covering both sides. Dredge the chicken in the toasted bread crumbs, pressing lightly to help the crumbs stick to the chicken. (The breaded chicken can be refrigerated covered for up to 1 day.)


Transfer the chicken to a lightly greased rimmed baking sheet. Bake on the lowest rack of the oven until the bottom of the chicken is browned, about 10 minutes. Move the chicken to a middle rack in the oven, reduce the temperature to 400 (you don't have to leave the chicken out of the oven while the temperature adjusts, just put it back in the oven and then reduce the temperature), and bake until golden brown and the chicken is cooked through (160 degrees on an thermometer), about 25-30 minutes. Let the chicken rest for 5 minutes before serving. 


Saturday, February 18, 2012

pioneer woman's cinnamon rolls

Have you heard of the Pioneer Woman?
You should have.
If not, go to her site right now.

Anyway, she is a great gal that makes some really good Southern "cowboy" food, as she calls it.
And these.
These are, by far, the best cinnamon rolls ever.
The best.

Go make them.
Immediately.
And be prepared to possibly just fall over from the heavenliness that are these rolls.


The recipe makes a ton (7-8 pie pans) but luckily they freeze really really well.  Just after they are finished, wrap them really well with a double layer of plastic wrap and stick em in the freezer.

The Pioneer Woman’s Cinnamon Rolls
Makes 7-8 pie pans....or a couple pie pans and 2 lasagna pans.
1 quart whole milk
1 cup vegetable oil
1 cup sugar
4 1/2 teaspoons active dry yeast
9 cups flour, divided
1 teaspoon (heaping) baking powder
1 teaspoon (scant) baking soda
1 tablespoon (heaping) salt
Plenty of melted butter
2 cups sugar
Generous sprinkling of cinnamon
1 bag powdered sugar
2 teaspoons maple flavoring
1/2 cup milk
1/4 cup melted butter
1/4 cup brewed coffee
1/8 teaspoon salt

Mix the milk, vegetable oil and sugar in a pan. Scald the mixture (heat until just before the boiling point). Turn off heat and leave to cool 45 minutes to 1 hour. 


When the mixture is lukewarm to warm, but NOT hot, sprinkle in the yeast. Let this sit for a minute. 


Then add 8 cups of all-purpose flour. Stir mixture together. Cover and let rise for at least an hour.


After rising for at least an hour, add 1 more cup of flour, the baking powder, baking soda and salt. Stir mixture together. (At this point, you could cover the dough and put it in the fridge until you need it – overnight or even a day or two, if necessary. Just keep your eye on it and if it starts to overflow out of the pan, just punch it down).


When ready to prepare rolls: Sprinkle rolling surface generously with flour. Take half the dough and form a rough rectangle. Then roll the dough thin, maintaining a general rectangular shape. Drizzle 1/2 to 1 cup melted butter over the dough. Now sprinkle 1 cup of sugar over the butter followed by a generous sprinkling of cinnamon.


Now, starting at the opposite end, begin rolling the dough in a neat line toward you. Keep the roll relatively tight as you go. Next, pinch the seam of the roll to seal it.


Spread 1 tablespoon of melted butter in a seven inch round foil cake or pie pan. Then begin cutting the rolls approximately 3/4 to 1 inch thick and laying them in the buttered pans.


Repeat this process with the other half of the dough. Let the rolls rise for 20 to 30 minutes, then bake at 375* until light golden brown, about 15 to 18 minutes.


For the frosting, mix together all ingredients listed and stir well until smooth. It should be thick but pourable. Taste and adjust as needed. Generously drizzle over the warm rolls. Enjoy!
Related Posts Plugin for WordPress, Blogger...